Frame Assembly – Good

This is how to assemble a frame properly but don’t do this too early or your wax will go off:

FrameAssembly1Remove the wedge cleanly or it won’t sit properly when you put the wax in. It doesn’t matter too much with wired wax, but if you’re using unwired wax the wedge won’t grip it properly. If necessary shave the area clean with a nice sharp chisel. Continue reading Frame Assembly – Good

Make your own Bee Skep

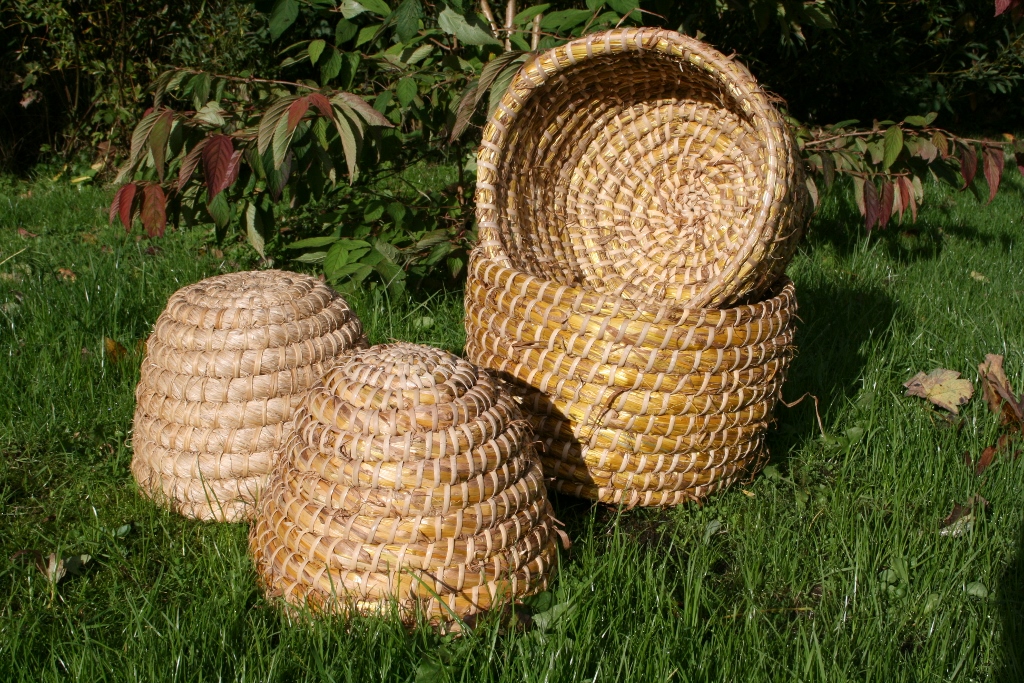
Once upon a time, all beekeepers would have made their own skeps using materials they could find locally. The theory of skep-making is simple enough: a length of straw rope, tapered at each end is coiled into a basket shape and stitched into place with a tough binding. It is a time-consuming and messy business though and should be done either outside in the elements of a warm, breeze-free day or in the corner of a garage or workshop. I should add that it takes practice.

Materials

There are two categories of materials:

  • the coil of rope forming the body;
  • the binding holding it in place.

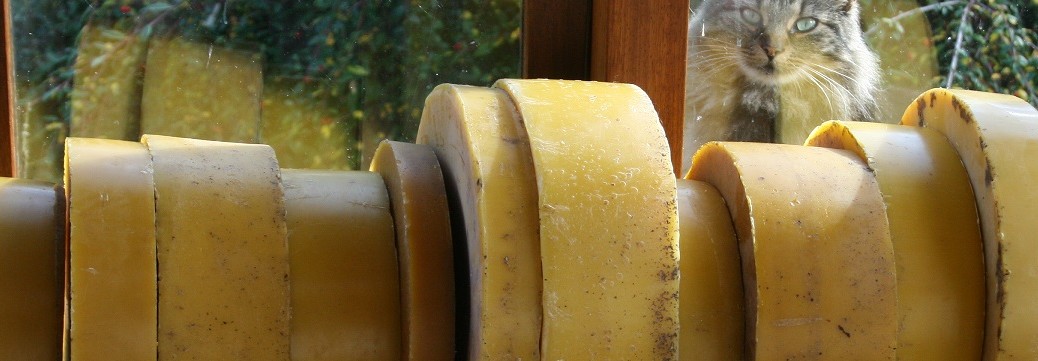
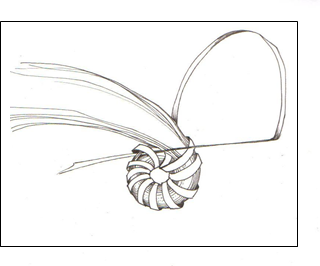
A variety of different materials can be used for each, depending on what is readily available – selection  below. Click image for close up.

Four Bee Skeps, small domed grass, small domed oaten straw, two swarm skeps
Small domed grass skep with blackberry binding, small domed oaten straw and lapping cane, two swarm skeps
The Rope

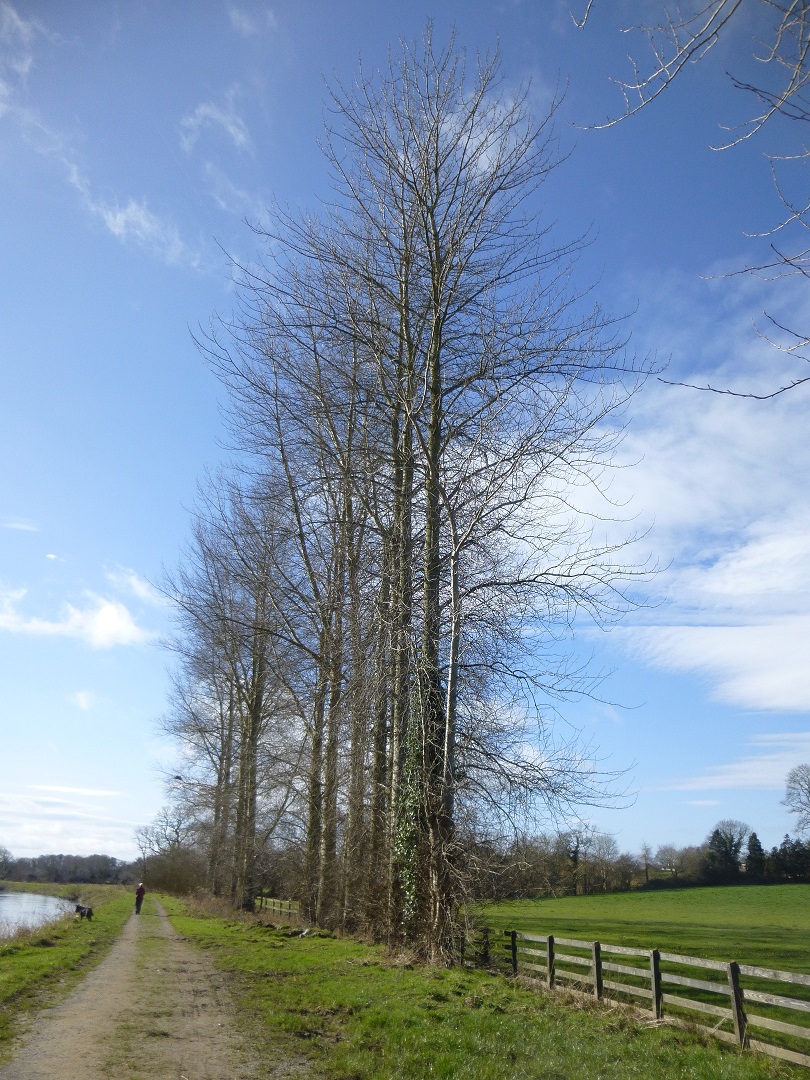
The rope can be straw, grass, rush and even heather – almost anything fibrous which is relatively long, tough and flexible can be used. Some materials are more durable than others and generally, the tougher the material the more difficult it will be to work.

Oat straw makes a good lightweight skep and was the most commonly used material in this far flung corner.  Wheat or barley straw will also suffice you just need to find some with nice long stems.

Rushes such as the common soft rush Juncus effusus are soft and easy to work with but the central pith will take up atmospheric moisture and the skep will soon rot.

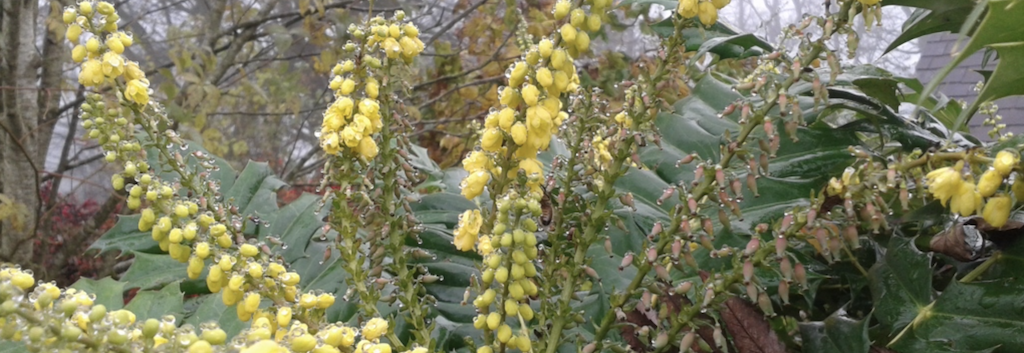
Purple moor grass, Molinia caerulea, is an exceptionally tough and durable upland grass found throughout Britain and Ireland and used for skep making in Scotland. There’s a lot of that around here so that’s what I started with. You can use either the leaves or the flowering stems and the plant obligingly sheds both in the autumn so you can go along and just pull it up by the handful. The leaves are nice and soft and easy to work but the flowering stems tend to be a bit brittle. They are easier worked if they are a little green when gathered but once dried no amount of soaking will de-brittle them enough to make them turn tight corners but they can be incorporated into the skep walls.

Click here for more on Purple Moor Grass

The Binding

Whatever the chosen material for the rope, the binding would traditionally have been bramble or sometimes nettles.

Brambles aka blackberry or Rubus fruticosus were were traditionally used, probably because they grow almost everywhere and they are so tough but the preparation is labour-intensive: the fronds should be one year old growth and no older as the stems become woody and tough with age; these need to be cut in the late summer or early autumn and stripped of leaves and thorns before being split lengthways, de-pithed and stropped to improve their pliancy. Finally they can be hung somewhere cool and dry to season.

Nettles have their own problems.

There are modern alternatives. Jute or other hairy strings are convenient and cheap but their durability is variable and some sources suggest that the hairiness and the smell of oils used in their manufacture are irritating to the bees. Synthetic baling twine is the cheapest of all and can be used if you don’t mind blue (or orange) but it will degrade in sunlight and your skep may burst asunder at a vital moment.

Lapping or binding cane is a renewable rattan product from the Far East and is a reasonably priced alternative, there is little preparation and it comes in the post. If lapping cane is used, ideally it should be pre-soaked for several hours to increase its pliancy.

Tools

  • A bodkin or marlin spike to pierce the rope;
  • A section of cow horn or the neck of a plastic bottle to hold and funnel the material into a continuous rope of uniform thickness;
  • Scissors;
  • Tape measure;
  • Long nosed pliers.

Method

The skep is begun from the centre with the inside of the basket towards you. Work progresses outwards in a flat spiral then gradually the coils are directed upwards to make the walls, finally tapering off at the rim.

The first and most difficult thing to do is to get started.

  • First take a soaked length of lapping cane and form a simple knot and – holding it this way up with the long end to the left…Skep Centre
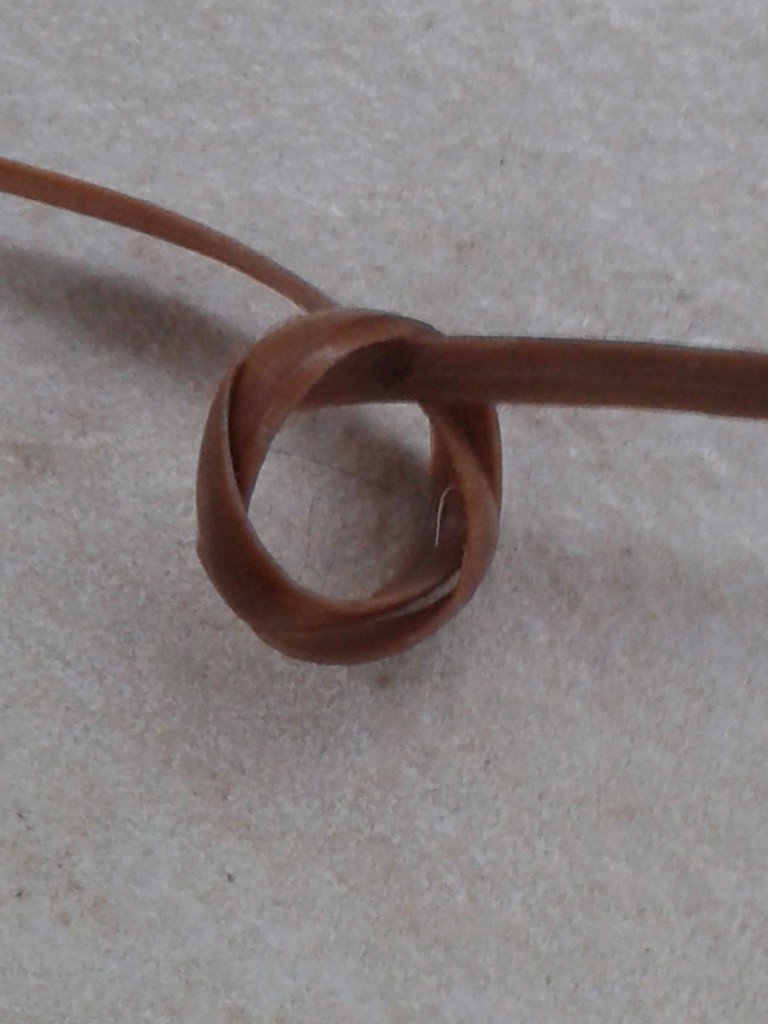
  • Take 3 straws and, working with the thin ends lay them across the active length of cane (the one on the left) then bring the cane over and pass it through the loop trapping the straws thus;First Straws
  • You need to stop now and think because the direction in which you start the binding is very important – once begun it cannot be changed. If you are right-handed you will probably load material into your rope from the left, leaving your right hand to do the stitching. The inside of the skep is facing you;
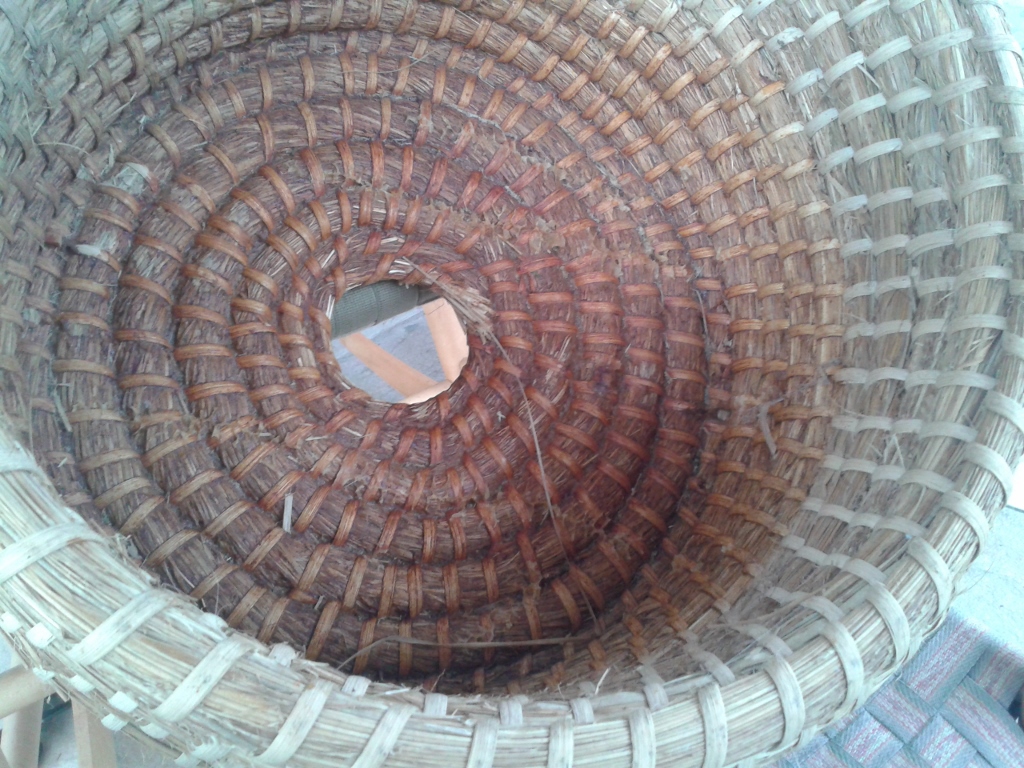
  • Continue binding the straws to the centre by passing the cane though the centre each time and slightly overlapping the previous stitch until you have completed a full circuit and it should look someting like this from the inside…First circuit
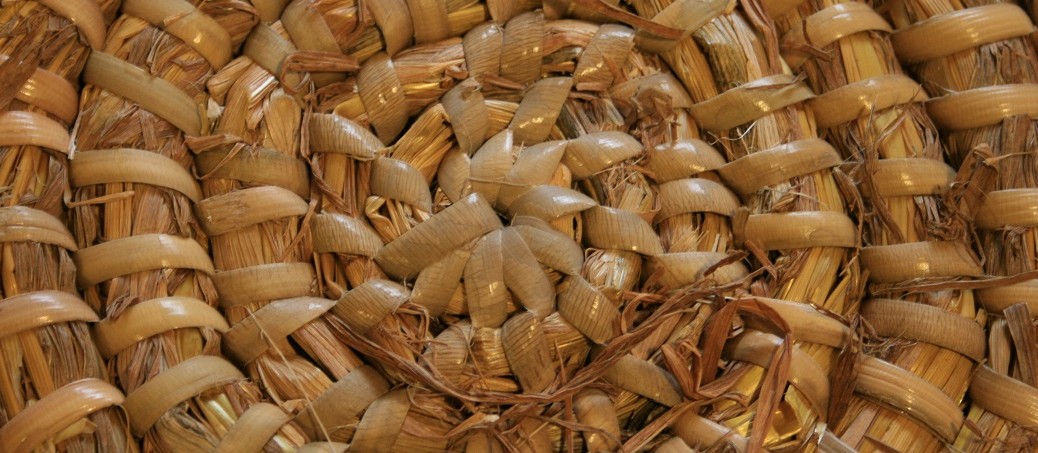
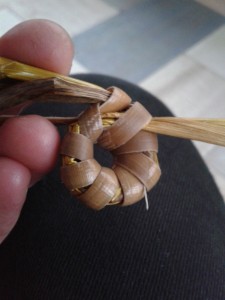
And like this from the outside… an eyelet with the smallest possible hole in the middle.Skep Centre for the outside
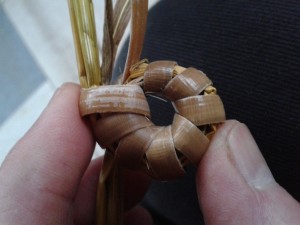
  • You can now start catching the stitches of the previous coil and as you do so, you need to start adding straws – this time add them one at a time butt end first – push them into the middle of the others until they grip.
  • With the scissors, trim the working end of the cane to a point and use the bodkin to ease a passage beneath a stitch then push the cane through. Pull tight and repeat, binding the coils to one another as they expand.Second circuit
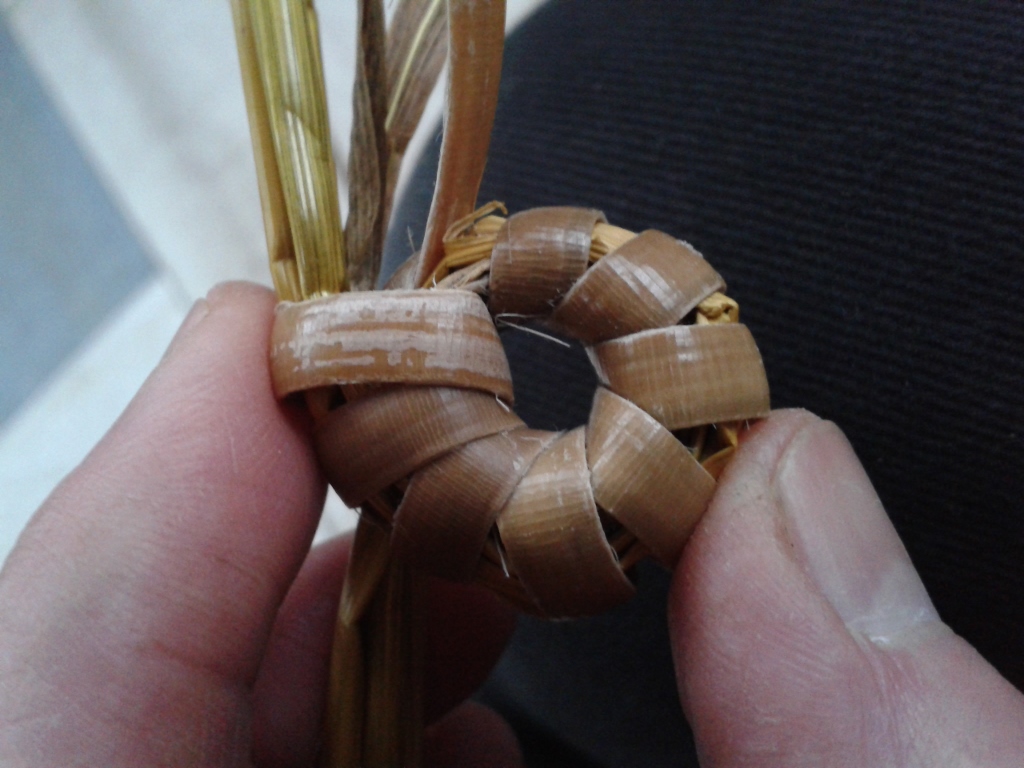
  • Loading the rope is important. Keep loading one or two straws at a time, gradually building it up until it is thick enough to fit the horn or plastic guide. From then on it is important to maintain a snug fit in the guide by loading little and often. Do not allow the guide to become slack as this will introduce a weakness. Too tight and you’ll get a bulge.
  • Give the rope a twist as you go and this will further tighten the structure;
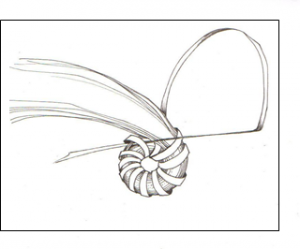
  • As you progress away from the centre, the stitches will become further apart so you should add stitches periodically by tightly circling the rope once with the lapping cane between stitches and holding it tight until the next stitch locks it into place. If you are making your own skep the size is completely up to you but generally a swarm skep has an outer diameter of about 14” and height of 10” and will take about a day to make. Harking back to grain measures – a 15”x10” skep holds one peck, or a quarter bushel, while one of 14”x15” will hold about 2 pecks – half a bushel.  Which size you choose depends on your average swarm size – 1 peck or 2!
  • Start the walls about 2” before you have reached the required base diameter because it will take a couple of laps to round the shoulder fully. Up until now you have been binding coils one to another in a flat disc but now you need to change the both alignment of the coils, one upon the other, and the positioning of the stitches. Remember you have the inside of the skep towards you.
  • Finishing off is just a matter of finding the right place to stop so there isn’t a lop-sided look. Once that is decided, stop loading the rope but continue the stitching until the rope tapers off to a point then just tie off the end and thrust it out of sight.

Click here for 2019 Skep Course

Click here for guidance on how to add a new binding cane

Click here for more on Purple Moor Grass

Click here for Skeps and Skep Beekeeping

Click here to order a skep


Copyright © Beespoke.info, 2015. All Rights Reserved.


Frame Assembly – Bad

Copyright © Beespoke.info, 2014. All Rights Reserved.

WrongPin
Panel pin incorrectly nailed through both bottom bars

You know – it is so irritating when you’re stripping down frames and discover that they’ve been put together wrongly. It’s usually one of three mistakes – or all of them, as in this frame.

First of all, don’t use panel pins – they’re too thick, they’ll split the wood and they’ll rust. Instead use proper 10mm lacquered frame nails or gimp pins available from beekeeping suppliers.

Don’t put a nail sideways through both bottom bars. Why? Because when you come to take it apart you won’t be able to remove that pin unless you chisel away at the wood so you can get hold of it with pincers. And unless you do remove that pin – it will obstruct the channel that your new sheet of wax is destined to slide into. Instead nail downwards into the endgrain of the side bar and towards the top bar. The bottom bars don’t support any weight so they won’t come adrift and you can tap them out with a hammer when you need to.

AnotherWrongPin
Panel pin piercing the top bar

Thirdly, don’t nail straight through the wedge into the top bar – your pin will almost certainly come out the other side and every time you try to clean that top bar your hive tool will come up against the points.


Correct Assembly
Correctly assembled frame


Bees and Mahonia

Bees on Mahonia

Rather a murky late winter’s day, 8 degrees C and misty with it. Despite that, the bees were flying quite strongly at around noon when I took this photo.

This is Mahonia, a very tough flowering shrub which the bees love. Some Mahonias are scented but this one isn’t – I think its full name is Mahonia x media ‘Charity’. Mahonias like this one come from North America originally but are now well established in parks and gardens everywhere – which is good for the bees. It is sometimes known as Oregon grape as the fruits look like grapes, being dark blue with an attractive bloom like sloes, or grapes – not edible though I think.

The bees don’t get a crop from it – obviously – but it really seems to cheer them up in the winter. It cheers me up too. It flowers from mid-November though to mid-January and whenever the temperature climbs sufficiently they will venture out and forage for a little fresh pollen or nectar.

Mahonia with Bees

Mahonias need to be cut back regularly in the spring after flowering to keep them from getting too leggy. You can be quite savage with them as they are very tough but aim to take about 25-30% of the stems down per year. The bits you cut off can be stuck in the ground and about 30% of them will root.

Click here for Bee Trees – Hawthorn

Click here for Bee Trees – Hazel

Click here for Bee Trees – Ivy

Click here for  Bee Trees – Horse Chestnut

Click here for  Bee Trees – Sycamore

Click here for Bee Trees – Willow

Click here for Bee Trees – Lime

Click here for Bee Trees – Poplar

Copyright © Beespoke.info, 2014. All Rights Reserved.


Wax-moth Hell

This is the time of year for scraping down the stack of equipment that got thrown into the shed during the active season – I know this because that’s what I’ve been doing this afternoon. Once started I realise why it takes so long to get down to it because it really isn’t nice. Not nice at all.

There should be a course -‘Entomology for Beekeepers’ because the assortment of creepy crawlies to be found in the detritus at the bottom of a beehive is bewildering and horrifying – like Doctor Who with maggots. Continue reading Wax-moth Hell

Propolis

Propolis is a word with Greek roots.  Pro means before and polis means city.  The reason propolis is called propolis is that the bees will use it to narrow the entrances to their cities (hives). The bees also use propolis to waterproof their hives from the inside or to glue down anything that is loose.

Propolised skep
Skep propolised on the inside

While they do tend to rely on the sticky exudations of plants they can and will bring home anything sticky such as wet paint, tar or even bubblegum. Fortunately, though they tend to prefer the natural gums that coat the buds of some trees for example the horse chestnut (Aesculus hippocastanum) or poplars (Populus spp).  If you want to know what propolis smells like – stand beneath some poplars in March or April on a sunny day and that wonderful resinous smell is propoplis. If it is a warm day listen carefully and you may hear the bees at work.

Poplars in March
A fine row of aromatic poplars on the Barrow near Millford, Co.Carlow.

They will also gather the resins that ooze from softwoods. Amber is a fossilised resin and samples have been found with bees trapped inside. Those ancient must have gone out one sunny day millions of years ago to get some propolis and got stuck there they are for us to marvel at today. A neighbour of mine once cut down a line of cypress trees in the middle of summer – the stumps continued to ooze sap and that year my hives were absolutely gummed to the gills with it.

Bees gathering propolis are bees on a mission – they have detected a draught or something loose and they head out for something to fix that with. When they find something sticky – and they’re not over fussy – they pack it into their pollen baskets (corbiculae) and head for home.

Bee with corbiculae stuffed with sticky propolis

Depending on what they are up to they will either mix it with beeswax or use it neat.

In its pure form it is a reddish gum with a wonderful resinous aroma. In the summer it has a gluey consistency and it is a nuisance to beekeepers and bee breeders – in this part of the world anyway – will select against propolis gathering.

In winter when it is cold, propolis is quite brittle and is easily chipped or scraped off hive parts. If you want to harvest some nice pure propolis, spread a sheet of gauze across the top bars of the hive under the crown board, when the bees have it packed with propolis, peel it off, fold it up and put it in the freezer. Next day remove the gauze from the freezer and crumple it up over a sheet of newspaper – all the little squares of propolis will fall out onto it.

Apart from its stickiness, propolis has other properties. It is an anaesthetic which used to be used by dentists and it has antibacterial and antifungal activity so when they line the hive with it they are applying a protective shield around it – it even hinders the beekeeper.

If you want to test the anaesthetic properties – chew a small piece and you will feel a numbness in the lining of your mouth. Don’t try too big a piece or you may find your teeth all glued together.

Copyright © Beespoke.info, 2014. All Rights Reserved.


Beeswax Facts

Beeswax has been described as the most recalcitrant substance known to man which means it makes great, long lasting polish but is not so great to splash it on your clothes.

  • Beeswax is produced by the bees from wax glands on the undersides of the abdomen;
  • Bees will only produce wax when there is a nectar flow;
  • To produce wax the bees cling together in clumps and consume a lot of honey to bring up the temperature, then wax is extruded in little white lens shaped scales that can sometimes be discovered amongst the debris on the hive floor;
  • Approximately 4lbs of honey is consumed to produce 1lb of wax.
  • Beeswax begins to melt at 64 degrees centigrade;
  • Beeswax begins to discolour at temperatures above 85 degrees centigrade;
  • Beeswax will spontaneously combust if it is heated to above 200 degrees centigrade;
  • The natural colour of beeswax is yellow – all shades of yellow depending on forage but if it is brownish or olive it has been overheated. If it is pure white it has been bleached.

Click here for how to render beeswax

Click here for easy beeswax wraps

Click here for beeswax lipbalm recipe

Click here for beeswax handcream recipe

Click here for beeswax furniture polish recipe

Click here for beeswax soap recipe

Click here for beeswax candlemaking

Click here for emergency home  dental repairs with beeswax

Copyright © Beespoke.info, 2014. All Rights Reserved.

Information For Humans Beeing