Beeswax is a by-product of beekeeping and there are dozens of things you can do with it. Each time you visit your bees and scrape those bits of brace comb off the top bars or the crownboard – instead of flicking them into the undergrowth, save them in a bucket and when you have enough you can render it into blocks of clean wax which can be stacked in a cupboard and in a very short while it will be bursting out the door.
I’ve been doing that for many years now and the cupboard is full of wobbly stacks of it so the time has come to do something with it. The options include the following:
- Trade it in for foundation;
- Melt it down and make your own foundation;
- Make some beeswax wraps;
- Make some lip balm;
- Make hand cream;
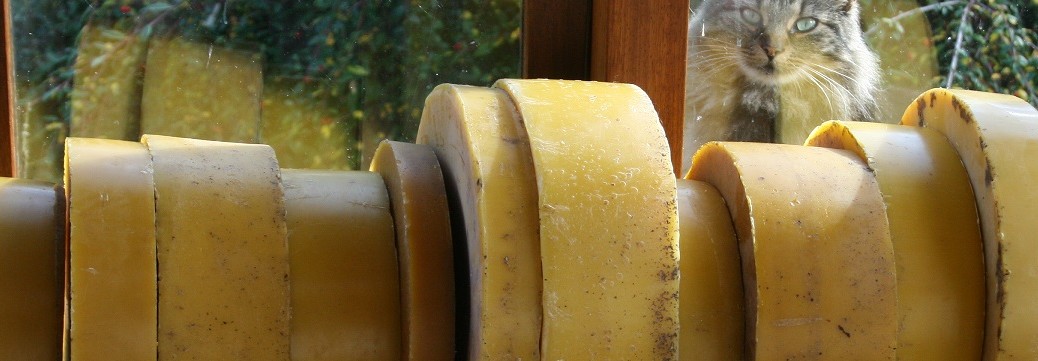
- Make soap;
- Make furniture polish;
- Make candles;
- Set fire to it all.
Trading it in is a trouble-free option and you get free foundation. It’s a bit dull though isn’t it?
If you have time on your hands and like a challenge you can make your own foundation. That said – the equipment for this is very expensive. However, you do know where the wax came from and whether or not you need to worry about pesticide residues.
Lip balm is easily made but an ounce of beeswax makes about 10 pots – not a great option if you have that mountain of wax. And you need to worry about pesticide residues too!
The same can be said about handcream and soap.
Soap is exciting! Click here for more about soap.
Furniture polish uses quite a lot but be careful with all those fumes and naked flames. More excitement. Click here for furniture polish recipe.
But candles… now there’s something that’s relatively easy, creative and will possibly help with that small, multifaceted income. That’s what I thought and that’s what I started yesterday – hand dipping those lovely elegant ones.
Here’s a couple of things you need to know:
- For candles it is best if you start with cleanish blocks of rendered wax – don’t start this process with a stack of filthy old combs because it won’t work. You need lovely clean wax – any powdery crud in there will migrate to the wick and block it all up.
- Beeswax starts to melt at 64 degrees C;
- If you overheat it, it will start to lose that lovely yellow colour and go a dingy olive – don’t let that happen;
- Beeswax is inflammable – it will spontaneously combust at around 200 degrees C so beware;
- Beeswax may react with anything other than stainless steel or pyrex.
Here’s the equipment you’ll need.
Equipment
- Plenty of time;
- Patience;
- Beeswax and a hammer to break it up;
- A 10″ candle will weigh about 70grams so you are going to need 70g x (the number of candles you plan to make) of melted strained wax ready to add to vessel A (see below) plus sufficient wax to fill vessel A before you even start. How you calculate this is up to you but you need to bear it in mind because you won’t be able to dip candles till vessel A is full;
- Double boiler or waterbath (stainless steel or pyrex) to melt the wax;
- Thermometer;
- Fine cloth to strain wax – old tights will do the job;
- Disposable or disreputable old clothing including tramps shoes because beeswax is the most recalcitrant material known to man and you are going to end up wearing at least some of it;
- Candle wick (comes in various sizes) – size 1″ is appropriate for 10″ long candles which are 1″ at the base. Candlewicks suitable for beeswax candles can be obtained from https://www.thorne.co.uk/candlemaking/candle-wick;
- A tall pyrex or stainless steel container one inch taller than the length of your candles, something like a spaghetti holder – we’ll call it ‘A’;
- A tall tin, such as those which olive oil come in, with the top cut off so the aforementioned vessel will sit into it – we’ll call it ‘B’;
- A pan large enough to accommodate the olive oil tin – we’ll call it ‘C’ unless you are confident that your vessel B will take heating without bursting asunder;
- A hot-plate which won’t matter if it gets all spattered with beeswax – not the cooker in the kitchen;
- Somewhere to hang your candles – a series of nails or pins uptilted so the candles don’t slide off – use your imagination/s;
- The candlestick you want your candles to fit into.
Method
- Break up your wax as small as time and common sense allows;
- Put it into the double boiler and heat till it melts;
- Get vessel A into vessel B and add enough water so that when A is full it will come to about 3cm below the neck;
- Put nested vessels A and B into C with as much water as is sensible;
- Strain the wax through the cloth/old tights into a warmed pyrex or stainless steel pan then pour into A to about 1 cm from the top;
- Put the thermometer into the water in vessel B and you need it quite hot to start with but don’t let it get above 80 to be on the safe side. Alternatively just keep an eye on it – you’ll know when it’s not hot enough because it will start to set around the edges and there’ll be a film across the top so add a bit of heat then;
- Cut up your wick into the lengths you require plus about 2″ so you can make a loop;
- Dip your wicks one at a time into the wax and watch the air bubbles come to the surface;
- Hang on your uptilted nails and before they get stone cold give them a bit of a pull to straighten them;
- Be organised and get dipping;
- After about 4 or 5 dips, roll the candles with a clean, glazed wall tile or a sheet of glass on a clean piece of marble or a floor tile to further straighten them;
- Lower the heat, or turn it off even, but don’t let it get much below 70 and don’t let a film form;
- Carry on dipping till you get to the diameter you require – test how they fit in your candle holder;
- A bulb of wax will build up on the bottom of the candle – trim it off before it cools.
Click here for how to render beeswax
Click here for beeswax lipbalm recipe
Click here for simple beeswax wraps
Click here for beeswax handcream recipe
Click here for beeswax furniture polish recipe
Click here for beeswax soap recipe
Click here for beeswax candlemaking
Click here for emergency home dental repairs with beeswax
Copyright © Beespoke.info, 2014. All Rights Reserved.
I have been hand dipping candles for a while now and figuring out and problem solving some of the things myself. However, I am trying to figure out why sometimes I get little white lines…almost like cracks in the candles. They are smooth but just imperfect with these little variations. I have been wondering if it has to do with the temperature if I ever get it too hot when rendering… or heating too many times. I just can’t figure it out. Do you have any suggestions?
Interesting. Did you have a look with a magnifying glass? If they are tiny cracks I’d say it’s something to do with temperature – perhaps the difference between the room temperature and the wax? If it cools too quickly it cracks.
But I’m only guessing.