Beeswax Wraps can be a lovely Christmas gift. Making them shouldn’t be difficult but if you’ve ever tried it you’ll know that it can he tedious, painful and messy. But here is a nice, simple mess-free method you can use to produce some last minute beeswax Christmas presents in less than an hour.
Most recipes will start you ‘grating’ your beeswax which is horrible – if one day your are feeling particularly smug or happy – grating a bit of beeswax should set you straight again. It’s also the best way I know to destroy every cheese-grater known to man not to mention fingernails and knuckles. The sharper the grater the more dangerous it becomes and fingernails and strips of skin do not add to the aesthetics of your wraps.
Also, many recipes use pine resin or ‘rosin’. This is a by-product of turpentine production and, apparently it gives the wraps a slightly tacky feel so they will stick together when you parcel up your sandwiches or whatever. Unfortunately you’re unlikely to find rosin in the supermarket. If you are a musician, you might have some or know where to find some – my Uncle used to apply it to his violin bow – I suppose the tackiness makes for a more satisfying screech.
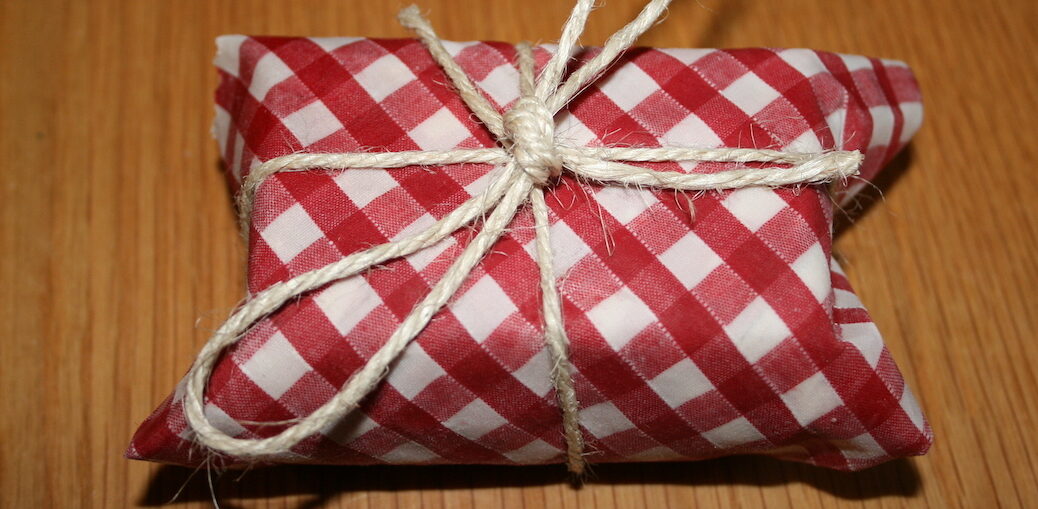
But rosin is not essential – there are alternatives such as hairy string or rubber bands – which are widely available. Hairy string has rustic charm and makes for a very attractive parcel. 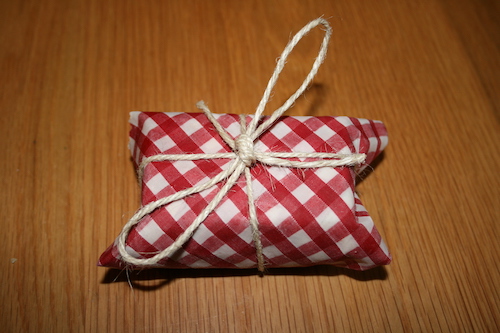 Another alternative is to employ the ancient art of origami and fold your beeswax wraps into a novelty lunch box. A second one, slightly larger, can be used as a lid.
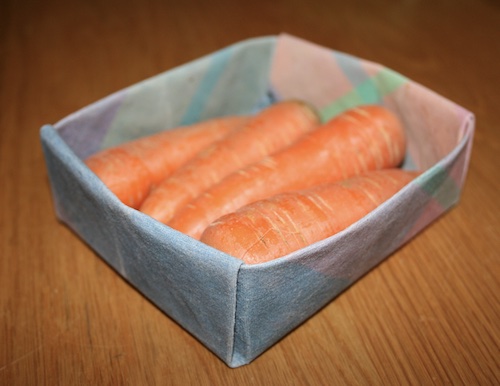
Time
About an hour
Materials
An old baking sheet
Tin foil
100% cotton cloth
Unwired beeswax foundation
Sunflower oil
A piece of string. Don’t ask how long.
Method
- Preheat your oven to 100 degrees C;
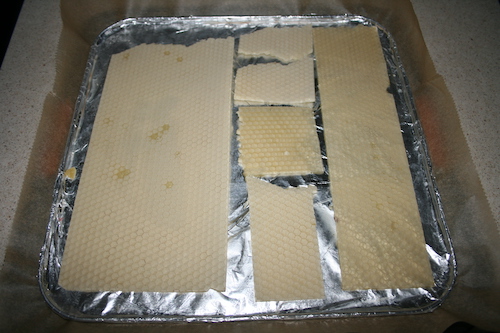
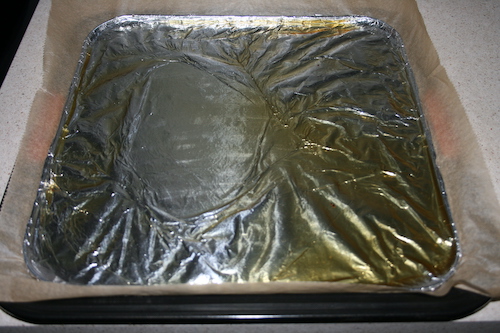
- Cover an old baking tray with tin foil – it needs to cover the base and go up over the sides with no holes or tears.
- Tie up a length of string like a clothesline somewhere handy;
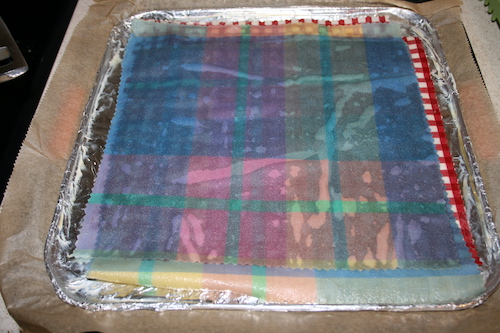
- Cut some squares of cotton cloth – use pinking shears if possible to prevent fraying. At about 10″x10″, my squares were a bit on the small side but there was just enough wax mixture for the 6. The size you use is up to you but they do need to be slightly smaller than the baking tray and the bigger they are of course, the more wax they will use;
- Weigh 50 grams of unwired beeswax foundation and arrange it on the baking tray;
- Sprinkle over 10 grams of sunflower oil;
- Place the tray in the oven for 5 minutes or until wax has melted;
- Take out the tray. Give it a bit of a swirl to make sure the oil and wax are mixed then add your first cloth square;
- Put the tray back into the oven for a couple of minutes;
- Remove the tray and lay your second cloth square on top of the first – if there is space around the edges – off-set it slightly – aim to cover the whole baking sheet so the cotton can wick the wax out of the corners.
- Then get hold of both squares together by one edge and turn them over so the fresh one is on the bottom. It shouldn’t be hot enought to burn you unless your oven thermostat is malfunctioning or you are a total wimp but be a bit careful about splattering wax everywhere.
- Repeat steps 9 and 10 until all your squares are in the tin.
- You will know when to stop because the wax will have been all used up and your last square will take time to get impregnated;
- Remove the cloth squares one by one, hold aloft and gently waft for a few seconds then drape them over the string to set – it’ll only take a few minutes. If they start to stick together in the tin put it back in the oven for a bit.

Click here for how to render beeswax
Click here for more about beeswax
Click here for how to fill your teeth with beeswax
Click here for more about pine resin or ‘rosin’
Copyright © Beespoke.info 2021. All Rights Reserved.