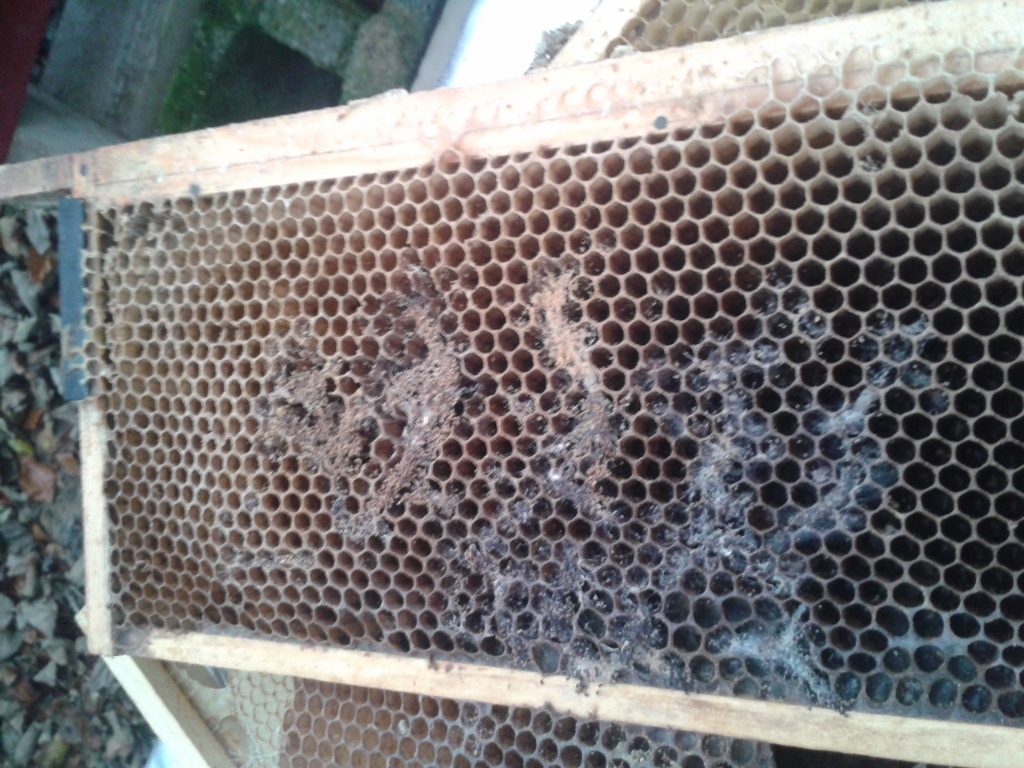
This is the time of year for scraping down the stack of equipment that got thrown into the shed during the active season – I know this because that’s what I’ve been doing this afternoon. Once started I realise why it takes so long to get down to it because it really isn’t nice. Not nice at all.
There should be a course -‘Entomology for Beekeepers’ because the assortment of creepy crawlies to be found in the detritus at the bottom of a beehive is bewildering and horrifying – like Doctor Who with maggots. Continue reading Wax-moth Hell→
Beeswax has been described as the most recalcitrant substance known to man which means it makes great, long lasting polish but is not so great to splash it on your clothes.
Beeswax is produced by the bees from wax glands on the undersides of the abdomen;
Bees will only produce wax when there is a nectar flow;
To produce wax the bees cling together in clumps and consume a lot of honey to bring up the temperature, then wax is extruded in little white lens shaped scales that can sometimes be discovered amongst the debris on the hive floor;
Approximately 4lbs of honey is consumed to produce 1lb of wax.
Beeswax begins to melt at 64 degrees centigrade;
Beeswax begins to discolour at temperatures above 85 degrees centigrade;
Beeswax will spontaneously combust if it is heated to above 200 degrees centigrade;
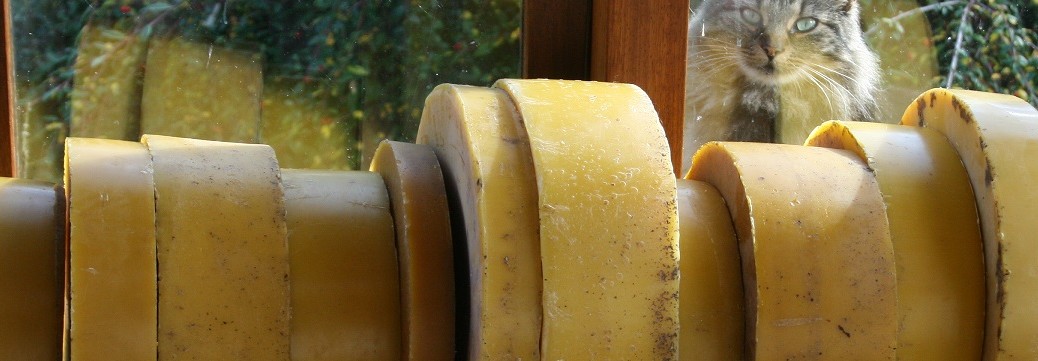
The natural colour of beeswax is yellow – all shades of yellow depending on forage but if it is brownish or olive it has been overheated. If it is pure white it has been bleached.
Beeswax is a by-product of beekeeping and there are dozens of things you can do with it. Each time you visit your bees and scrape those bits of brace comb off the top bars or the crownboard – instead of flicking them into the undergrowth, save them in a bucket and when you have enough you can render it into blocks of clean wax which can be stacked in a cupboard and in a very short while it will be bursting out the door.
I’ve been doing that for many years now and the cupboard is full of wobbly stacks of it so the time has come to do something with it. The options include the following: Continue reading Beeswax Mountain – Candle Making→
So the clocks have gone back and the nights are drawing in; the bees are all stocked up and strapped down ready for whatever winter will bring. What is left for the beekeeper to do? Maintenance that’s what: –
Supers and honey frames should be scraped clean and stored wet to scupper wax moths, stack them on a floor with a queen excluder on it to keep the rats out, put a couple of sheets of newspaper between supers and top with another queen excluder and a roof or a sheet of plywood. The newspaper stops any moths, or caterpillars making their way from super to super. Make the stacks as airtight as possible so the honey won’t draw in water or your supers will be dripping by spring. Last year I wrapped the stacks with clingfilm and that worked a treat. If possible start your stacks in the middle of the floor so you can walk all the way round that way you’ll know if there are vermin at work – a rat can chew right through a super;
Get a cat or a better still a couple of kittens – they cost nuppence ha’penny to feed, they’re a joy to watch and the vermin hate them;
If you have somewhere light and airy and cold to stack them, so much the better – wax moths are creatures of the dark – light unnerves them;
Empty boxes need to be scraped clean and given a light going over with the blow torch. Unless you went for polystyrene…;
Brood frames also need to be scraped clean of wax and propolis; old frames with black wax or gaping holes should be stripped down – don’t re-wax till you need them though or the wax will go all hard and the bees won’t work it properly they’ll just draw out weird abstract works with wings and flaps – but you already know that! If your shed is like mine, empty frames can be stored out of the way in between the rafters;
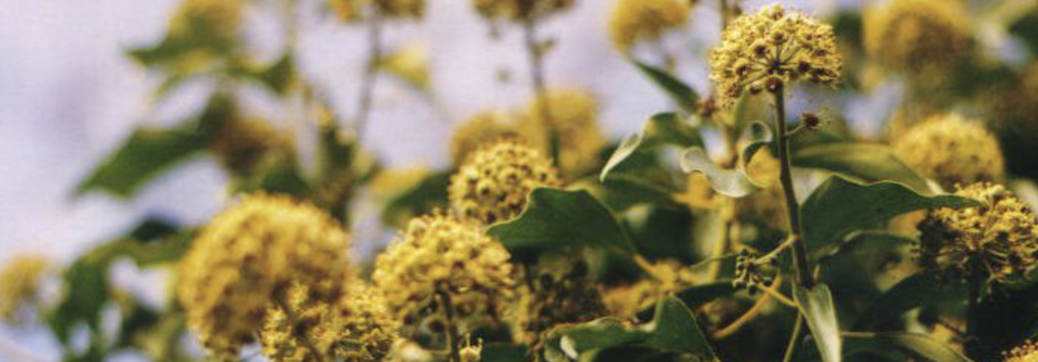
My bees are still working the last of the ivy here so the queen will be laying away albeit slowly – you need to be aware of that if you are thinking of treating with oxalic acid in the deep midwinter – you’ll need at least 3 weeks after the ivy has finished for all that to hatch out otherwise you are wasting your time.
Flyaway hair? Try this recipe I found this morning. It takes minutes to prepare and will hold the most stubborn hair in place.
Ingredients
15 grams grated beeswax
4 teaspoons coconut oil
Method
melt the beeswax in a glass jar or bowl over a pan of hot water;
when melted – add the coconut oil;
when that too has melted – stir well and pour into a shallow jar;
If you want to add fragrance – cool slightly and stir it in just before bottling.
To use, scrape a little out with a teaspoon – or a fingernail if you’ve got one of those long curved ones. Spread it out over your fingertips then rub it through your mad hair.
PS If you don’t like the consistency you can always melt it down and add more beeswax or coconut or fry an egg in it.