There are all sorts of bees for sale out there – Buckfast, Carniolan, Italian, Russian, Greek – you name it but how can they possibly be better than the locals on their home turf? Think about it, think about the risks in importing diseases and god knows what-all else. Don’t import bees – improve your own.
Click here for more information on the Native Irish Bee.
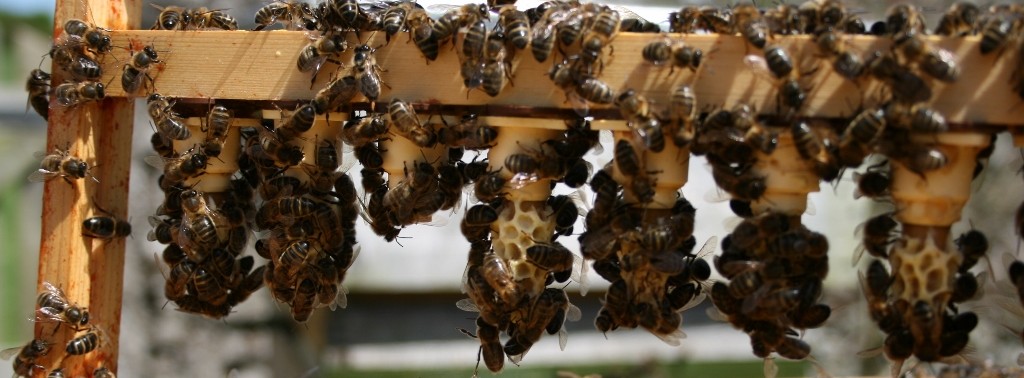
Here’s how and it isn’t difficult. In fact it’s fun and very rewarding – you will see real results year on year. We used to have some really horrible bees here and only a few hives of them but each year they would chase us round the garden. Now, in the middle of summer I have around 25 hives of bees here and stings are rare.
So make a start this year.
Colony Assessments
First you will need to record aspects of your bees behaviour for an entire season. You will need to record this data because you will not be able to remember it. Click here for a link to a downloadable Colony Assessment record sheet and some instructions.
Colony Appraisals
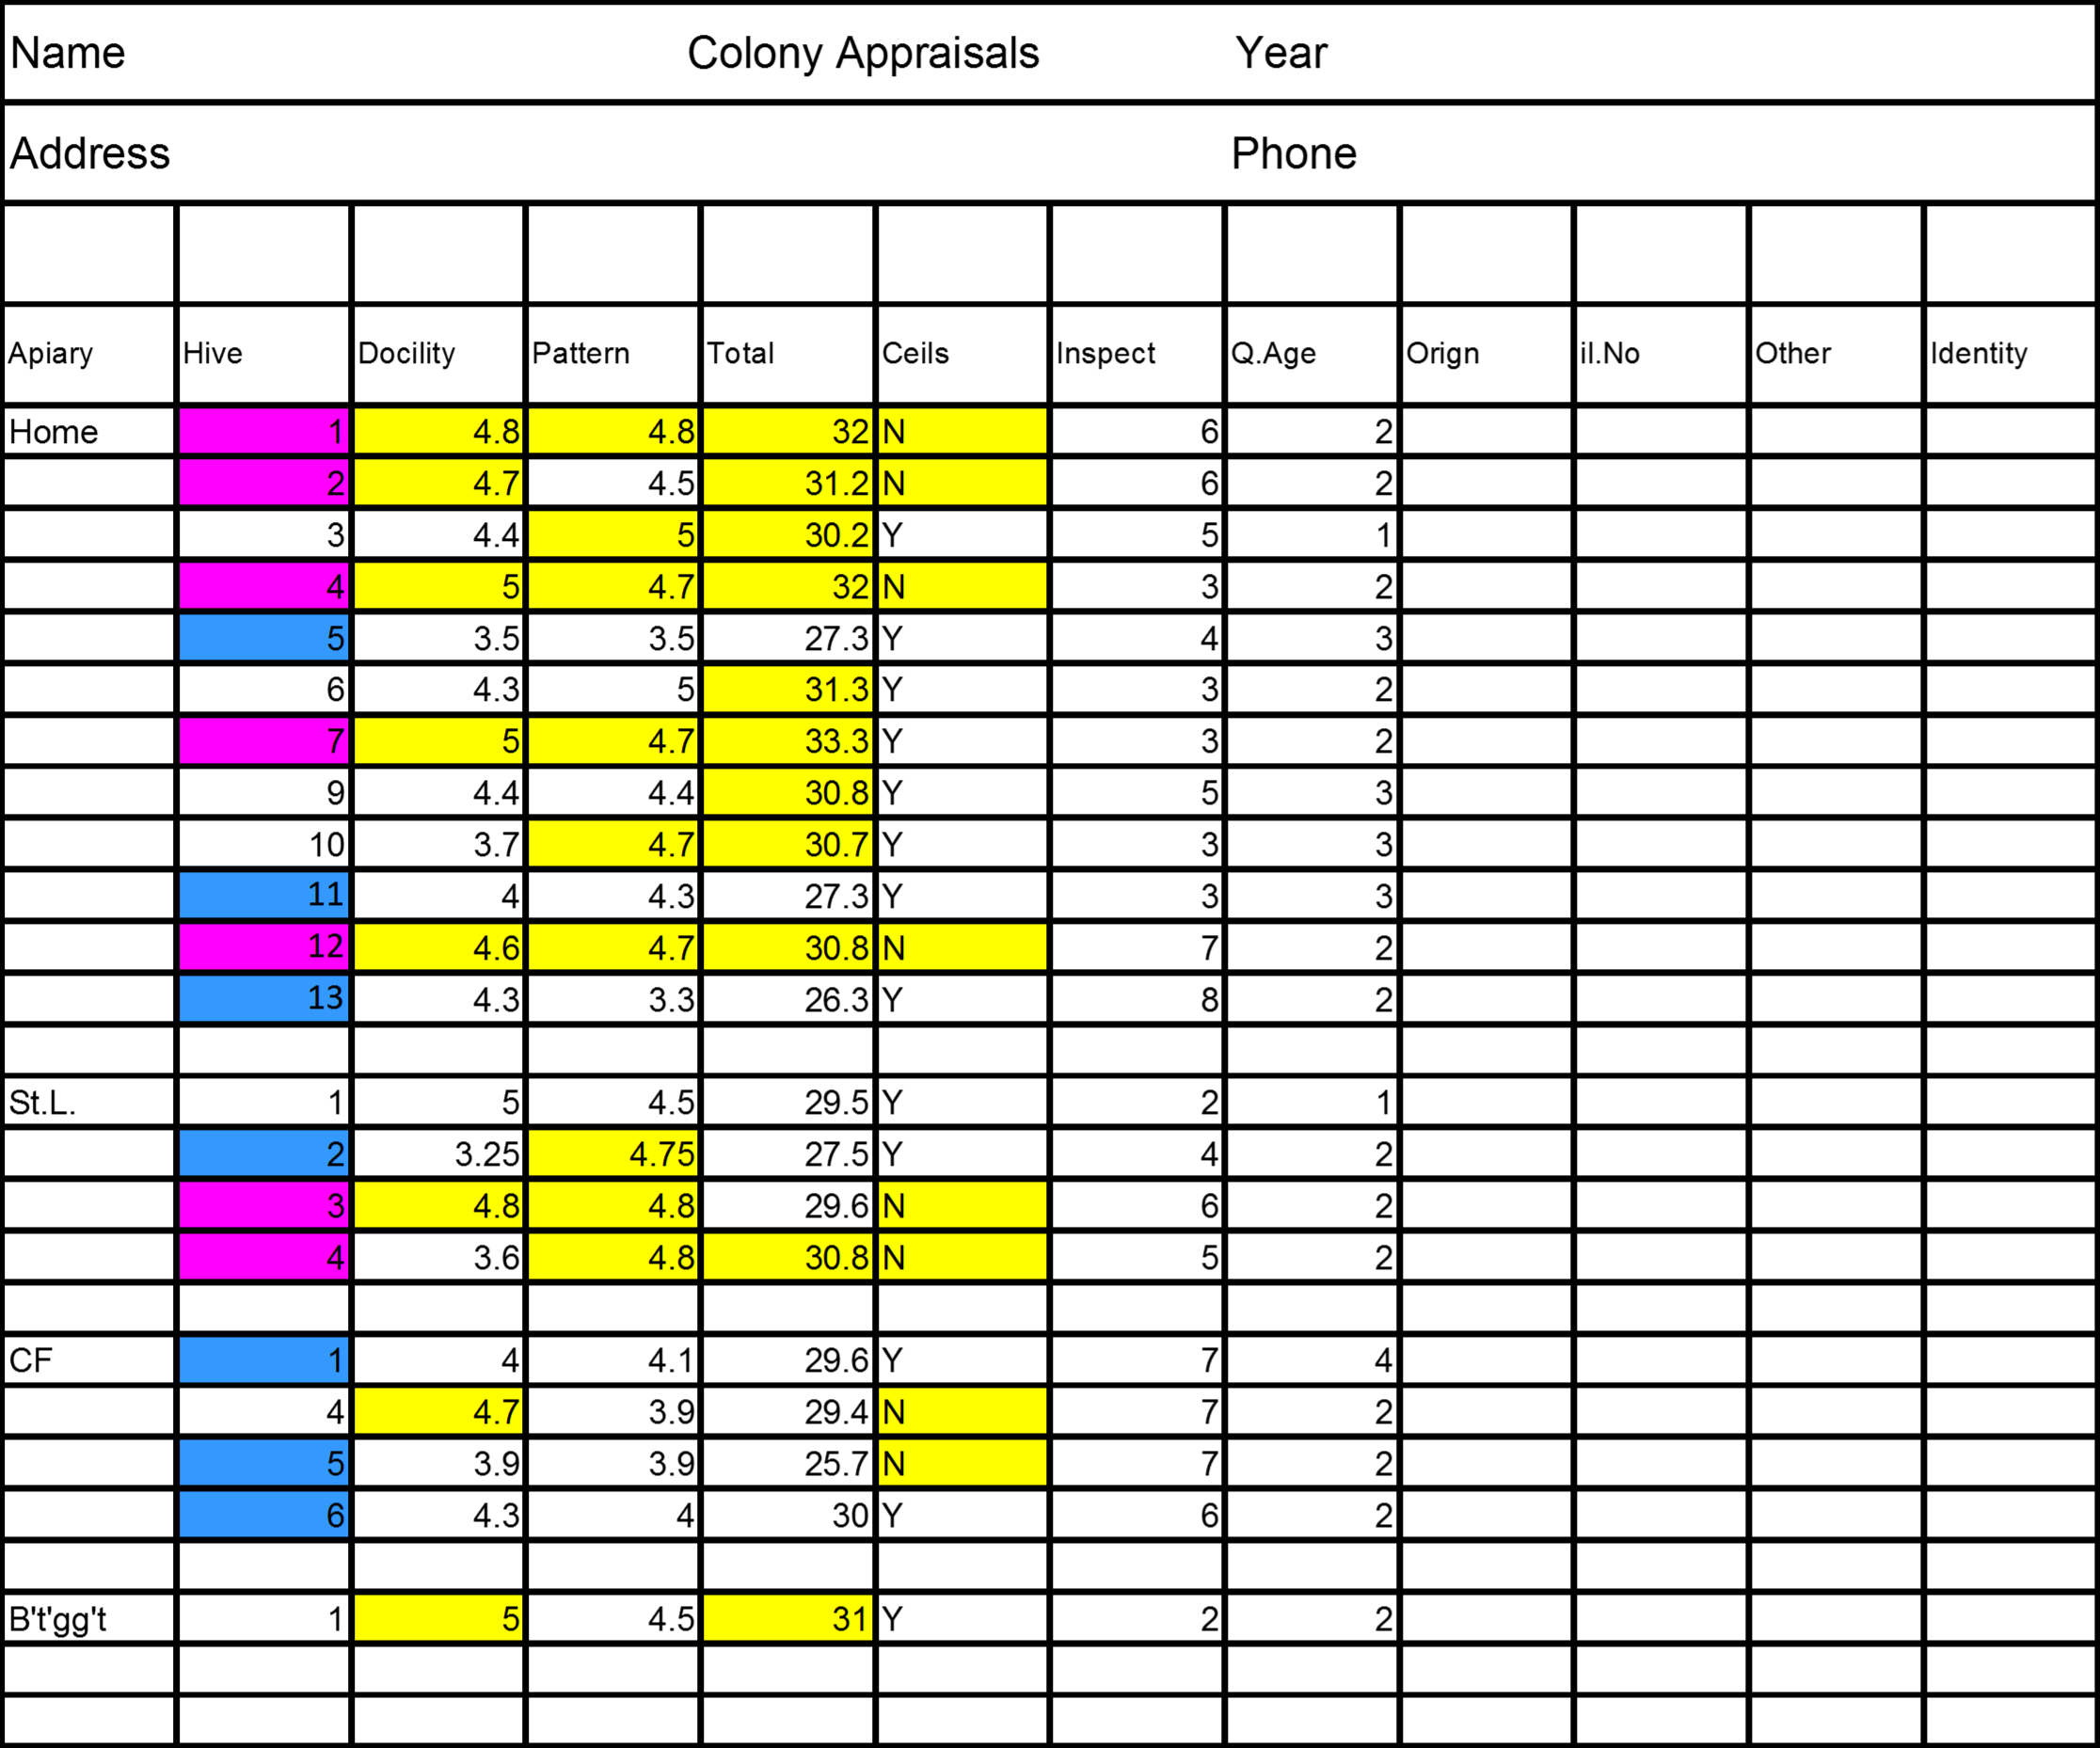
Once you are armed with a sheaf of these – all filled in from the previous year – you can sit, midwinter, by the fire manipulating your data and transferring it into your Appraisal Sheet. Click here for a link to a downloadable Colony Appraisal sheet and some instructions.This sheet compiles all of your seasonal data from the previous year and tabulates so you can compare your colonies objectively. Here’s one of my completed Appraisal Sheets for last year (2014). Click it for a better view.
From Data to Action…
How you filter your data to pick out the best colonies to breed from and those to cull is up to you. Here’s what I do – nice and simple:
- Hightlight (yellow) all cells in the ‘cells’ column with an N in other words all the colonies which didn’t make queen cells.
- Then highlight (yellow) the top 10 or so cells of the Docility, Pattern and Total columns.
- You can then pick out the best 30% of your colonies – the ones with 3 or more highlighted cells per row – Pink
- Then the bottom 30-40% of your colonies – the ones with one or less highlighted cells – Blue
- Bring all of your breeder colonies to your breeder apiary
- Take all of the indifferent – neither blue nor pink – colonies to out-apiaries and requeen when your Apideas start to bear fruit;
- Cull all the queens in the blue highlighted colonies but don’t do this until you start to see drone brood. If you cull queens at this time you take advantage of all their brood and bees which you then unite with your breeder colonies. Take care when you do this and make sure to leave them queenless for a week and knock off every single queen cell before you unite over newspaper. Do not look at this as losing colonies of bees because you are not – in a very short while the very strong doubled-up colonies you have created will be ready to split – using the method of your choice and you are back where you started but without those horrible queens.
- Avoid inbreeding by either buying in a few native queens or alternatively take a few of your Apideas to another beekeeper to get mated and/or swap grafting material. Make sure you like his bees, and the cut of his jib, first though!
In addition – you will have favourite queens which may not feature highly in this scheme but there are things about them that you have noticed. If this is the case you should take special care to note where they are (record it on the assessment sheet) and how they do and don’t just cull them because they didn’t score high enough.
Drone Rearing
Have as many bees as possible in your home apiary so there are lots and lots and lots of drones. With luck, the place will be so drone-heavy your virgins will get caught on the way out and won’t go straying with the blithering Buckfast boys. As you know – apiary vicinity mating is a characteristic of the native bee: in this way they manage to get their queens mated in those short flashes of sunshine that occur during otherwise extensive periods of foul weather such as we experienced in the summer of 2012.
Get your drone rearers making drones about 5 weeks before you are due to start your first grafts. Do this by adding in drone frames late March, early April and FEED. In this part of the world it is customary to use two brood frames – each fitted with half a sheet of wax – the bees will draw out drone comb to fill the gap. If you have frames that have holes in the bottom half but are otherwise good – cut the bottom half out with a stanley knife. Add them at each side of the brood nest – about 3 frames in from each side. If you are on double brood boxes add in two per box.
Some people put two super frames into the brood box and allow the bees to draw drone comb off the bottom bars of these but in my experience the bees don’t seem to know when to stop and attach the combs to the sides of the box which can leave you with a right mess.
Copyright © Beespoke.info, 2015. All Rights Reserved.