Mating nucs, or ‘mini nucs’ are a great way of getting a new queen laying using the minimum of resources. Should she fail, little is lost but if she does get laying – a spare queen is a great thing to have!
Apideas are far and away the best mating nuc on the market – they cost a little more but are worth every penny for the elegance of the design and the quality of the product.
There’s more than one way to skin a cat and the same can be said for Apideas but here is how I’ve been doing mine for the past 15 years…
Preferably you need to start your Apideas 3 days before your queen cells are ready to be moved.
Assembly
- Snap the 3 plastic frames together making sure you have the grooves for bedding the wax on the inside.
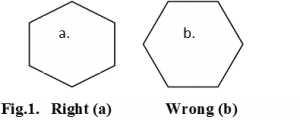
- Fit each frame with 3cm deep strip of foundation as a ‘starter’. Make sure you have the foundation the right way up, the hexagons should be points up thus:
 or the bees will not draw the wax. Secure in place by dribbling a line of wax from a beeswax candle into the groove in the top bar alongside the foundation.
 - Do not be tempted to use drawn frames from last year because they take up too much space and you won’t be able to get the full complement of bees in when you come to fill it. Also, drawing wax helps the bees to bond into a unit.
- Be sure to arrange the frames so that two of the semi-circular cut-outs in the top bars meet beneath the hole in the crownboard. This space will accommodate a queen cell and it is important you get it right from the start so check it – stick your finger in it to be sure.
- The funny bits of red plastic which don’t seem to belong anywhere are in fact queen excluders; one slots into the feed compartment and the other can be pinned, or screwed, to the inside of the door panel so it covers the entrance. This last one is to stop your bees from absconding. Only put this in place after the queen starts to lay!
- The other bit is a ventilation grille and you can see where that fits, the lip points inwards and overlaps the crownboard.
- Fill the feed compartment with fondant.
- Make sure the edge of the crownboard is tucked under the lip of the ventilation grille.
- When you have your Apidea assembled, put the lid on and close the door, then turn it upside down and slide the floor partially out to reveal the frames. You are now ready to populate it.

Adding the Bees
Choose a good strong colony – preferably with supers full of bees. Supers always contain a lot of young bees and as long as you have a queen excluder in place – no drones and hopefully not the queen.
It is tempting to shake bees from a brood box stuffed with bees especially if you know where the queen is – however, if you do this you will almost certainly include a lot of drones and these are neither use nor ornament in an Apidea.
You will need a large plastic bucket, a water sprayer and a jug or some sort of scoop with 300ml level marked on it.
300mls is approximately 1,000 bees. If you consider that your queen is probably laying 1,500 – 2,000 eggs per day then 1,000 bees is less than a day’s brood production.
- Find a frame with lots of bees on it and give it a light shake back into the hive – this will remove the older, flying bees and leave you with the younger ones.
- Shake these into a your plastic bucket and immediately spray them lightly with a little water – just enough to stop them from flying. Gently tap the bucket on the ground – tumbling the bees to get them clumped.
- DO NOT over-wet them.
- Scoop out 300mls of bees and pour them into the Apidea.
- If you have a virgin you can drop her in at this stage.
- Now quickly but carefully close the floor.
- You can use bees from the brood box if you prefer, but make sure you know where your queen is and try not to include too many drones.
- Turn the Apidea the right way up and place in a dark, quiet place for 2-3 days while the bees adjust and bond together.
- Spray the ventilation panel with a little water twice a day.
Adding the Queen Cell
The Apidea is ready for a queen cell after the first day or so in the dark. This time-lapse will:
- Allow the bees dry out and to cluster up on the frames – if you have over-wet them, they will sit in a clump on the floor for a while and if you put the cell straight in – it may chill.
- They will have time to consider their position and realise they are alone and queenless.
- As long as your crownboard has been fitted correctly, the roof can be removed without releasing any bees. The little flap in the crown board can be quickly and quietly lifted. A gentle wisp of smoke will stop escapees while the queen cell is placed in the hole. If you are using a Jenter or Cupkit system or grafting into cell holders, these will nest neatly into the hole and not drop through. If you have harvested a queen cell from a swarming colony you will need to either suspend the cell using a cunningly placed cocktail stick or use a wire cell-protector.
- Regarding wire cell-protectors – if like me – you think it won’t fit the hole try screwing it in!
- After the three days in the dark have elapsed, your Apidea can be sited outside and the bees released.
Siting your Apidea
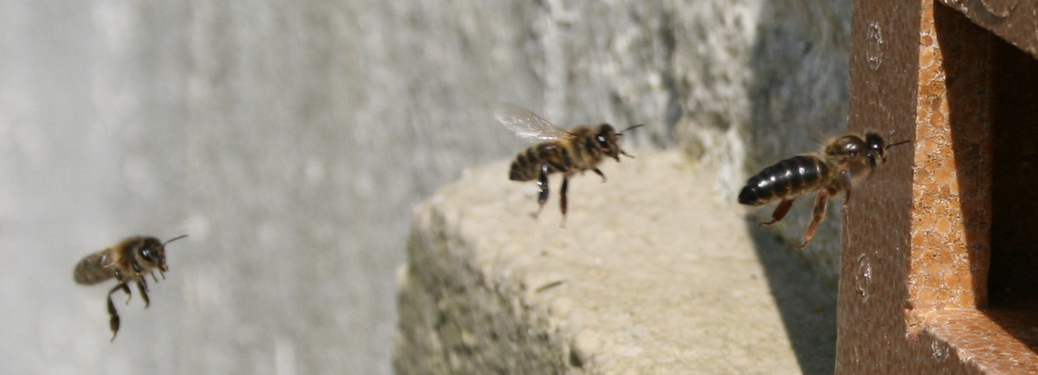
Somewhere sheltered, off the ground and not too sunny is ideal – Apideas are made of thermo-efficient plastic and can overheat and abscond in direct summer sunshine like this:

If you kidnapped bees from hives close by, as long as they’ve had the required time in the dark, they will not fly back to the parent hive.
- Young bees that have never been outside don’t know where they came from.
- Flying bees will have melded into a unit during their incarceration and will fix on their new location.
- Put a brick on the top or strap the roof on with a large elastic band or a circle of car inner tube. They are quite light weight even with fondant and bees in. Strong winds and/or cats can dislodge them and if they hit the floor with a bang – catastrophe!
- You will almost certainly need to feed again but don’t feed so much that there is nowhere left for the queen to lay. The crown board is flexible enough to be prised up at the feeder end without releasing the bees from the brood chamber – strong syrup can be poured in from a jug. Alternatively, gently remove the crownboard and set it horizontally across the frames to keep the bees in place while you fiddle about. Add a few broken twigs to the syrup as floats so the bees don’t drown.
- If you added a capped queen cell leave alone for 2-3 weeks depending on the weather. If you added a virgin leave alone for 2 weeks. If there are no eggs after 4 weeks something is wrong. Click here for Queen Rearing Timeline.
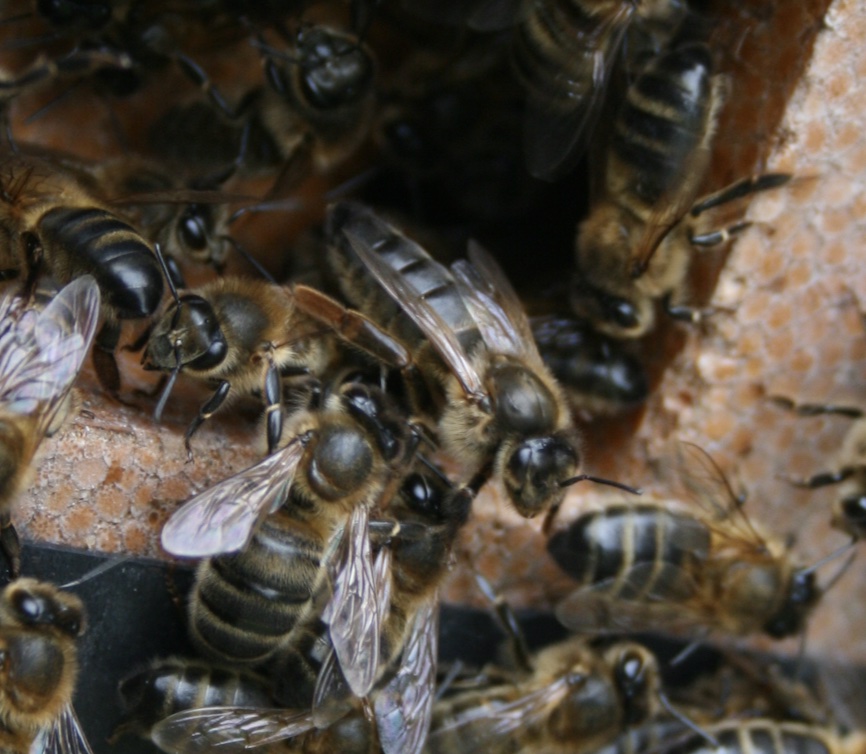
- Once you have seen eggs you can pin, or screw, the little queen excluder over the entrance – this will stop the queen from absconding (see photo above). And by the way, if you re-use your Apideas for another batch of queens – don’t forget to remove the queen excluders!
- If, like me, you have placed your Apidea/s in a spot that overheats in very hot weather you can easily cool them by draping a white flannel or a strip of pale towelling over them. The pale colour will reflect a lot of the heat and if you periodically drench the cloth with cold water the problem is solved.
Overwintering
Apideas will overwinter but only do this if you cannot get them into a nuc somehow
They will need to be strong and they will need to be sited somewhere dry and sheltered – in this case a south facing windowsill to maximise any sunshine is ideal. The internal feeder can be removed to accommodate two extra frames and special Miller type feeders can be purchased for autumn feeding. In addition, the roof of the Apidea incorporates a series of linked compartments which can be packed with fondant/granulated honey which the bees can then access through the hole in the crownboard – just fold back the little plastic flap when you replace the lid.
If you have a number of queenless Apideas, an alternative is to unite them.
Click here for a queen rearing timetable for Jenter Kit and Cloake Board system
Click here for How to set up your Jenter kit
Click here for how to introduce a new queen to an established Apidea
Click here for the basics of queen bee introduction
Click here for how to unite a number of queenless Apideas
Click here for more on overwintering Apideas
Click here for how to feed a winter Apidea
Click here to listen to piping queens
Click here for How to Set up a Jenter Kit
If all else fails – click here to buy one of my mated Native Irish queens
Copyright © Beespoke.info, 2014. All Rights Reserved.
Thank you for your website and your clear instructions on Apideas.
Thank you Vincent. I’m glad you found it useful!